Looking to give your car a sparkling clean and polished look without shelling out money for a professional detailing service? Look no further than this guide on How To Detail a Car.
In the following article, you’ll receive a step-by-step overview of the fundamentals of professional car detailing, which includes everything from car detailing supplies to the initial washing and drying stages to the final polishing and interior cleaning.

How Often Should You Detail Your Car?
I recommend detailing your car every three to six months. Depending on how much you drive and the conditions you drive in.
Detailing your car regularly not only keeps it looking clean and new but also helps prevent damage to your car’s paint and helps maintain the value of your vehicle. You can supplement this with car washing every so often.
What Do I Need To Detail A Car?
If you aim to thoroughly clean your car, certain tools can help you achieve a sparkling finish. Starting with the essentials, you will require a water source, a few buckets, and high-quality car wash soap.
It is also recommended to have an adequate supply of microfiber towels for drying. Additionally, to tackle more intricate cleaning, a clay bar may be necessary to eliminate persistent contaminants, while a polishing compound can restore the glossy appearance.
It is crucial to protect the paint from environmental factors by applying a coat of wax or sealant.
To clean challenging areas such as wheels and grilles, a range of brushes with various shapes and sizes will come in handy. Lastly, for the interior surfaces, a powerful vacuum cleaner, and air compressor will aid in removing dirt and grime from every corner and crevice.
List of Car Detailing Supplies
- 3 Buckets (three bucket method)
- Air compressor
- Car wash soap
- Carpet brushes
- Carpet cleaner
- Chamois (sham·waa)
- Clay bar
- Car Wax
- Degreaser
- Detailing brushes
- Extractor
- Foam applicator pad for polish
- Foam applicator pad for wax
- Glass cleaner
- Leather Conditioner/Leather Cleaner (if needed)
- Microfiber cloth
- Car Polish
- Pressure washer
- Tire cleaner
- Tire shine
- Vacuum cleaner
- Washing mitt or sponge
- Water Filter for the
- Window towel
Three-Bucket Method
The three-bucket method is used to prevent cross-contamination between the washing, rinsing, and wheel cleaning processes. The method involves using three separate buckets. One for clean soapy water, one for rinsing the wash mitt, and another for cleaning the wheels.
The first bucket is filled with soapy water and used for washing the car’s body. The second bucket is filled with clean water and used for rinsing the wash mitt after each pass to remove any dirt or debris. The third bucket is filled with a separate cleaning solution and is used exclusively for cleaning the wheels to avoid cross-contamination.
You do not want to use the same bucket you’re cleaning your wheels in to prevent metal shavings and brake dust from being applied to the paint.
Grit Guards are used in the buckets to collect the contaminates at the bottom to ensure a clean mitt every time.
How To Detail a Car: My 13 Steps
Detailing a car involves thoroughly cleaning and restoring its exterior and interior surfaces, leaving it looking brand new. Here are my 13 steps on how to detail a car.

DETAILING YOUR VEHICLE’S EXTERIOR
Taking care of the exterior of your car helps protect your vehicle from dirt, dust, rain, and pollutants that accumulate over time. By maintaining the exterior, you can prevent damages like rust and corrosion, and keep your car looking good for longer.
Starting with the exterior prevents debris from transferring to the car’s interior, simplifying the cleaning process.
Pro tip: It’s important to clean your vehicle’s exterior in a well-shaded area because direct sunlight can cause cleaning solutions to dry out too quickly, leaving streaks and marks on the vehicle’s exterior. When the cleaning solution dries too fast, it will make it more difficult to remove, making your detailing efforts more tedious.
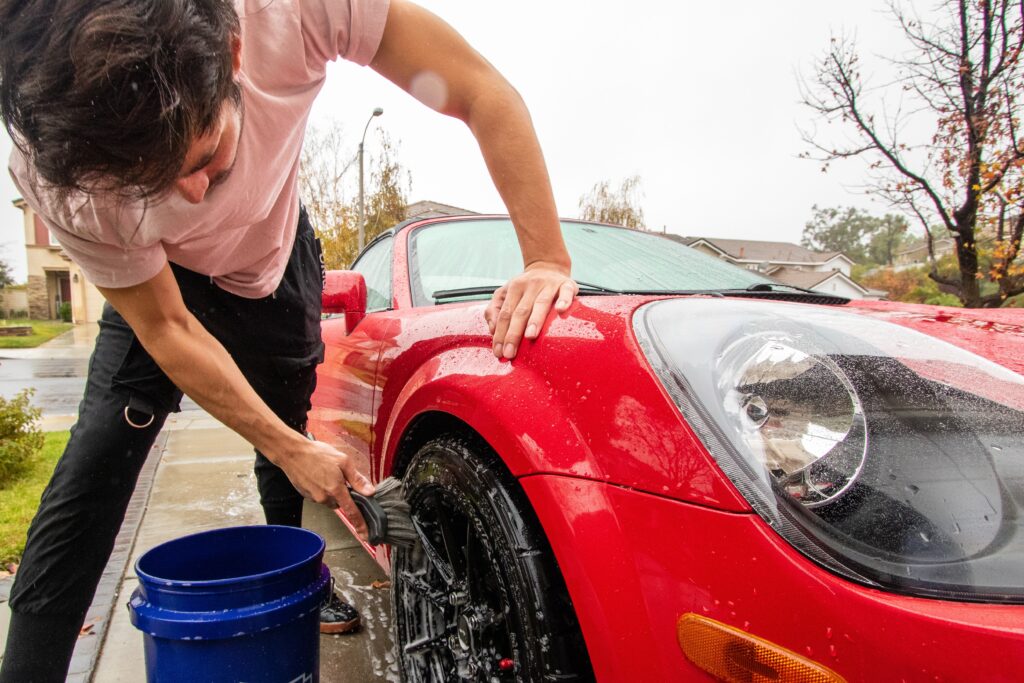
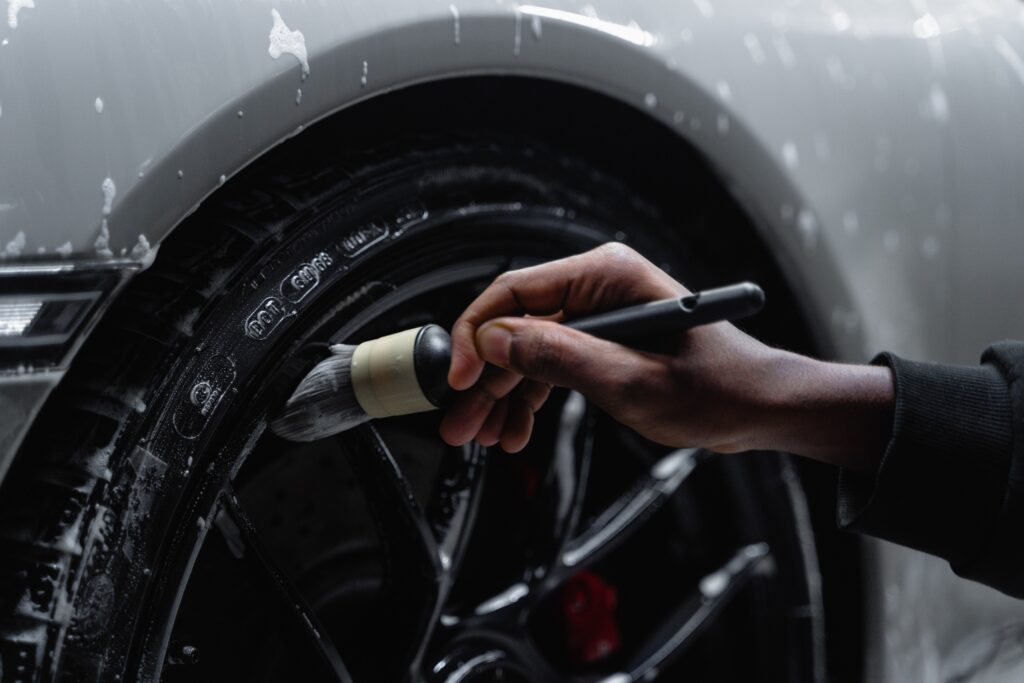
STEP 1: CLEAN THE WHEELS AND TIRES
Cleaning your car’s wheels and tires is an essential part of maintaining its appearance. Rinse your wheels and tires with water to remove loose dirt and debris.
Next, apply a specialized tire cleaner to your tires and allow them to sit for a few minutes to break down any grime or contaminants. Use a tire brush to scrub the sidewall of your tires.
For your wheels, use a wheel cleaner that is specifically designed for your type of wheels and scrub with a brush to reach all the small crevices. Rinse everything thoroughly with water and dry.
Lastly, apply tire shine to the sidewall of your tire to provide necessary moisture and protection against environmental elements, preventing dry rot and tire damage
For a more in-depth guide on How to Clean Your Wheels and Tires, check out my article:
5 Essential steps – How To Clean Wheels and Tires
STEP 2: CLEAN ENGINE BAY
Keeping your car’s engine bay clean is crucial to maintaining its overall health, yet it’s a step that often gets overlooked. Cleaning your engine bay makes your car look better and helps prevent problems caused by dirt and debris buildup.
To clean your engine bay, take the first step by protecting delicate parts like the battery by covering them with plastic bags or a tarp. Proceed to use a degreaser to get rid of any grime and grease buildup. Employ a gentle brush to scrub the area and rinse away the degreaser with water.
Feel free to skip this step if wanted. Cleaning your engine area can be pretty intimidating due to all the sensitive components. And will not effect your cars overall appearance to any by passers.
For a more in-depth guide on How to Clean your Engine Bay, check out my article:
How to Clean Engine Bay: A Comprehensive Guide
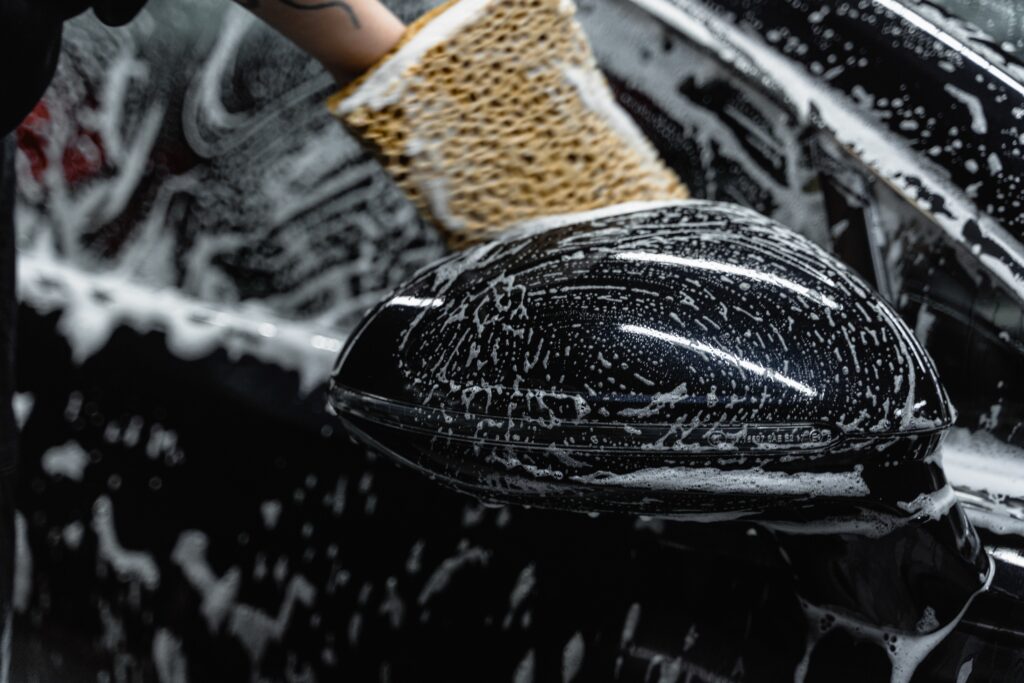
STEP 3: WASH THE EXTERIOR
Start by rinsing the entire vehicle with water to remove loose dirt and debris. Make sure to clean the wheel-well areas, dirt, and mud will likely be present. Then, use a car wash soap and a wash mitt or sponge to gently wash the car from top to bottom. Start with the roof of the car and make your way down the middle.
Leave the rocker panels, front, and rear for last. The reason is these will be the dirtiest areas and you want to make sure you are cleaning your mitts when needed to avoid scratches.
Rinse off the soap thoroughly with the same top-to-bottom process. This will help reduce the chance of water spots and leftover soap residue.
For a more efficient car cleaning process, consider using a pressure washer to clean your exterior, wheels, tires, and engine area. ( water garden hose with a nozzle attachment will work fine too). This will help you save time and avoid cleaning the same area multiple times due to water splashing, making your cleaning experience more effective.
For a more in-depth guide on How to Wash a Car, check out my article:
How To Wash A Car: Tips And Tricks For A Shiny And Clean Car
Pro tip: You can use a water filter to use the cleanest water possible. By using filtered water, you can prevent water spots and protect your car’s paint and finish from damage, providing you with a spotless and long-lasting shine every time you wash your car.
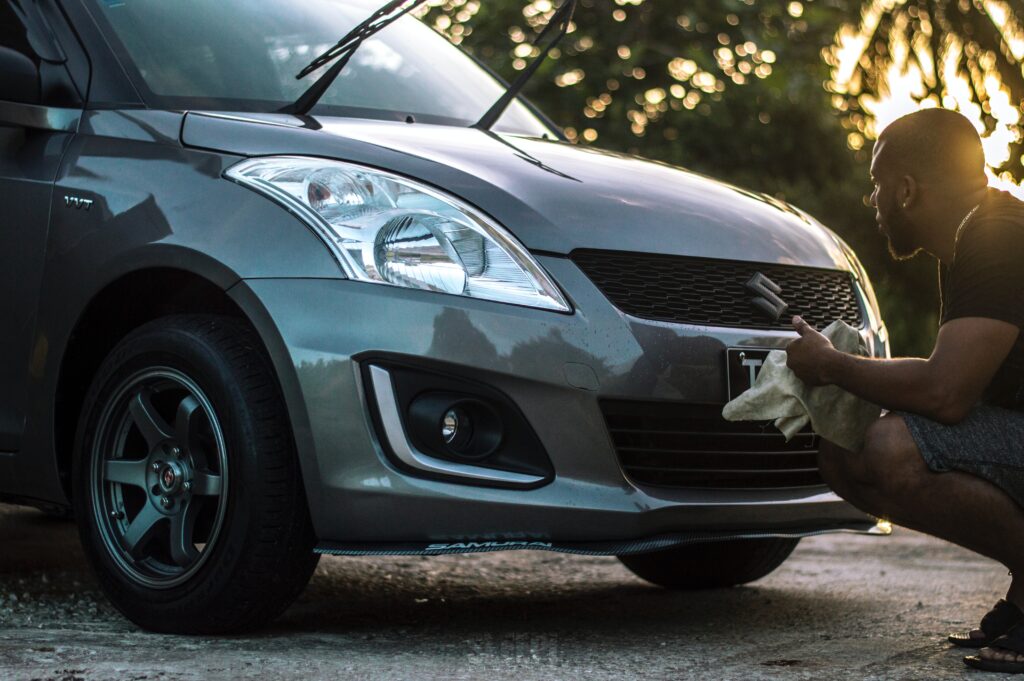
STEP 4: CLEAN TRIM AND MOLDINGS
As time goes by, exposure to the elements can cause the trim and molding to lose their shine and become discolored. If the trim and molding are only dirty, a simple cleaning with a mitt or sponge should suffice.
However, if they have been contaminated, proper cleaning is necessary. Begin by ensuring that the interior windows, trim, and molding have cooled down, and then gently scrub the surfaces using a soft brush and a solution of mild soap and water to eliminate dirt and grime.
For persistent stains, a detailing product designed for trim and molding can be used. After cleaning the trim and molding thoroughly, rinse them with water and dry them using clean microfiber cloths. To maintain the appearance of the trim and molding, you can apply a protectant specially formulated for plastic or rubber surfaces.
For a more in-depth guide on How to clean Car Trim, check out my article:
FROM GRIME TO SHINE: HOW TO CLEAN CAR TRIM IN 3 SIMPLE STEPS

STEP 5: DRYING THE EXTERIOR
Drying your car is an important step in the detailing process because it helps prevent water spots and streaks from forming on the paint. One of the best methods to dry your car is using a chamois.
What is a Chamois?
A chamois cloth is a soft, absorbent fabric that is gentle on surfaces, making it a popular choice for cleaning and drying cars. Its rectangular or square shape and ability to effectively absorb water and dirt make it a widely used cleaning tool for professional detailers.
Simply begin drying from the top of the vehicle, working your way down to each section and ensuring complete drying before moving on to the next. Make sure to squeeze out the chamois multiple times during this process, absorbing all the dirt and water it comes in contact with.
Be sure to dry any areas where water may have accumulated, such as around the mirrors or under the door handles. Avoid using a regular towel or cloth, as these can scratch the paint.
In case you don’t have a chamois, you can also use microfiber towels to get the job done. Make sure to replace the towel when it’s too damp to dry anymore.
STEP 6: APPLY CLAY BAR TO THE EXTERIOR
After washing the car, the surface may still have some contaminants, such as tree sap, tar, and industrial fallout, that won’t come off with soap and water. Gently rub your fingers across the paint, and if you feel a roughness it’s time Clay. Clay bar treatment can effectively remove these stubborn contaminants and prepare the paint for the next steps in the detailing process.
What is a clay bar?
A clay bar is a malleable material that you can rub gently over the surface of the paint. The bar picks up and traps contaminants, leaving the paint smooth and clean. When using a clay bar, make sure to use plenty of lubrication to prevent scratching the paint. Here are some clay bar lubricants you can also use instead.
To use the clay bar, start by washing the car completely. Then, apply a lubricant to a small section of the car’s surface and gently rub the bar back and forth over the lubricated area with light pressure. Repeat this process until you have covered the entire car.
Lastly, wipe down the car’s exterior surfaces with a microfiber towel to remove any leftover residue, leaving the surface smooth and ready for waxing or polishing.
For a more in-depth guide on How to Clay Bar a Car, check out my article:
How to Clay Bar a Car: the Ultimate Guide to a Showroom Finish
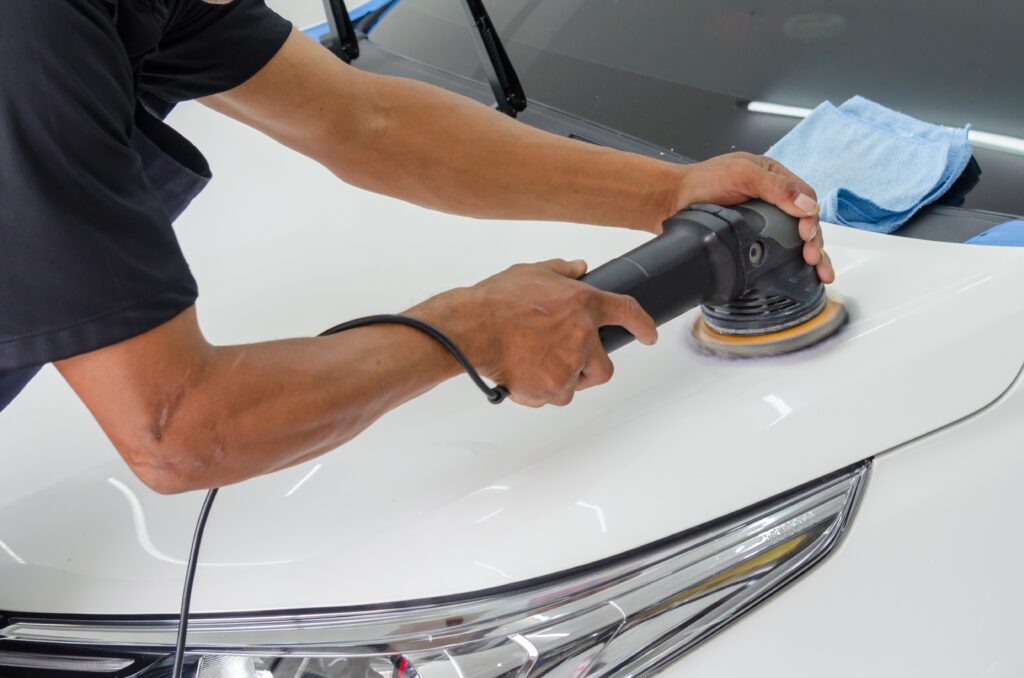
STEP 7: POLISHING THE PAINT
Once your car’s paint is clean and dry, it’s time to apply polish and wax.
What is Car Polish?
Polish is an abrasive product that smooths out imperfections like swirl marks or scratches on the car’s paint and restores its shine. Choose a quality polish that works best with your car’s paint color.
how to polish your car
Using a foam applicator pad, take a small quantity of polish and gently rub it onto the paint using circular movements. Avoid applying too much pressure, as this can damage the paint. Work in sections, moving from one area of the car to the next until the entire surface has been polished. Then use a clean microfiber towel to wipe off any excess polish.
What is Car Wax?
Wax is a protective layer that shields the car’s paint from contaminants, and UV rays and provides a shiny, glossy appearance. Car wax usually only lasts a few months, requiring reapplication to restore shine and paint protection.
Apply the wax to a small section of the car’s paint using a foam applicator pad. Spread the wax evenly in circular motions, making sure to cover the entire surface. Give the wax a few minutes to dry completely.
With a microfiber towel, use back-and-forth motions until the surface is shiny and smooth. Repeat the process on other sections of the car until the entire surface is covered with a protective layer of wax.
It’s important to use quality car wax, to ensure the best results. Do not apply too much wax at once to avoid wasting the product and making the process more difficult. Avoid waxing the car under direct sunlight or on a hot surface, as this can cause the wax to dry too quickly and leave streaks or spots.
For a more in-depth guide on How to Polish Your Car, check out my article:
How to Polish a Car: 9 Simple Steps to Polish Your Car Like a Pro
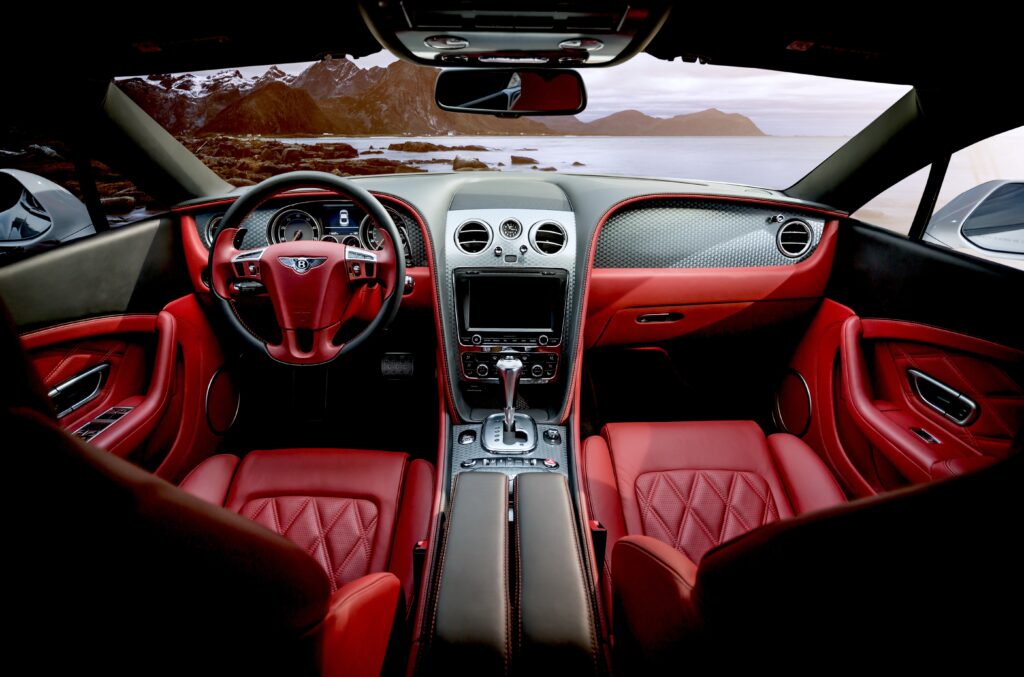
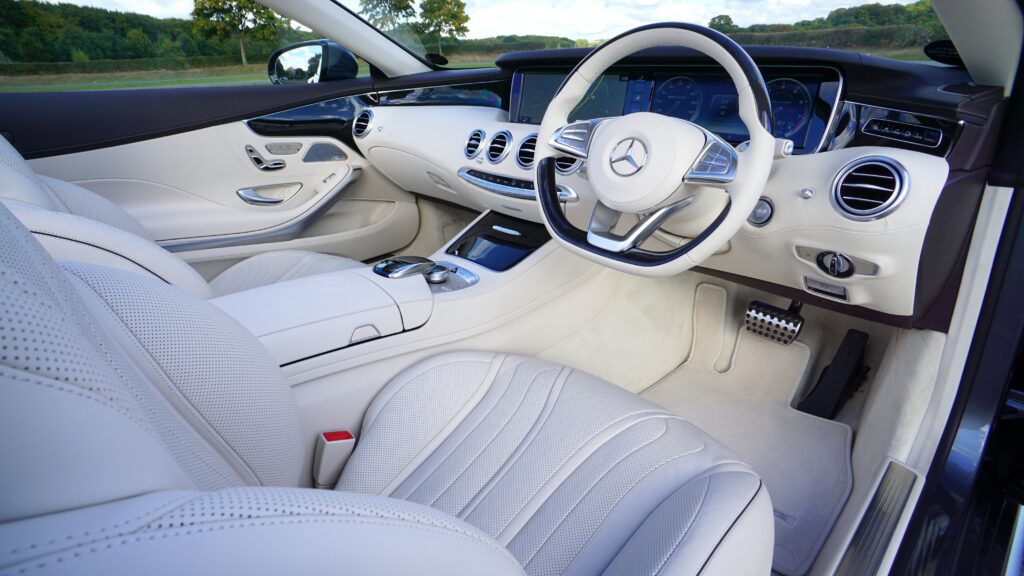
CLEANING THE INTERIOR
Keeping the outside of your car clean is important, but don’t forget about the inside too! Dirt, dust, and grime can build up quickly and make your car look and feel dirty. Follow these 5 easy steps to maintain a fresh and clean car interior, and enjoy a comfortable ride every time.
STEP 8: VACUUM THE INTERIOR
Your car seats, floor mats, and carpets love gathering dust, dirt, and debris. To vacuum the interior of your car, start by removing all the floor mats and shaking them out. Set them aside as ill come back to them in a later section. This will make it easier to clean the carpets underneath.
Then, use a handheld vacuum or an attachment to your regular vacuum to remove the loose dirt and debris from the seats and carpets. Be sure to get into all the little spaces, including air vents and the space between the seats and the center console.
For a more in-depth guide on How to Vacuum, check out my article:
Clean Car, Happy Life: How to Vacuum Car in 5 Simple Steps
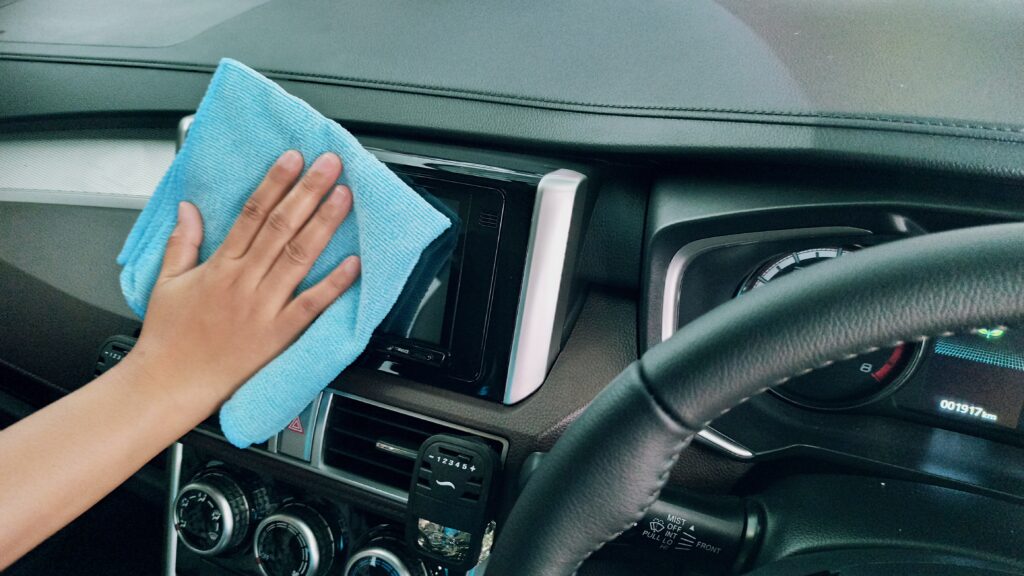
STEP 9: CLEAN THE DASHBOARD
The best way to get into all the tight spots and areas you can normally use a microfiber cloth is to use compressed air.
Before you start using compressed air, remove any loose items from your dashboard, such as mats, phones, or small objects. This will prevent them from being blown away by the compressed air, and make it easier for you to clean your dashboard.
Attach a narrow nozzle or crevice tool to your compressed air tool and turn on the air compressor. The nozzle helps to direct the airflow to specific areas, making it easier to clean the dashboard.
Hold the nozzle a few inches away from the dashboard, and use short bursts of air to blow out any dust, dirt, or debris that has accumulated on the surface. Start at one end of the dashboard and move to the other to ensure you cover the entire surface. Work methodically and avoid using too much pressure that can damage delicate surfaces.
Use a soft-bristled detailing brush or microfiber towel to gently wipe away any remaining debris or dirt on the dashboard. For stubborn stains or spots, use a gentle cleaning solution and a microfiber cloth to clean the affected area. Avoid using harsh chemicals that can damage the dashboard’s surface.
Once you’re done cleaning, wipe the dashboard with a clean, dry microfiber towel to remove any remaining moisture.
Using compressed air to clean your dashboard is an effective and safe way to remove dust and debris without using water or harsh chemicals. It’s also a great way to clean hard-to-reach areas like air vents or tight corners. However, you should use avoid using too much pressure when cleaning, this can damage delicate surfaces.
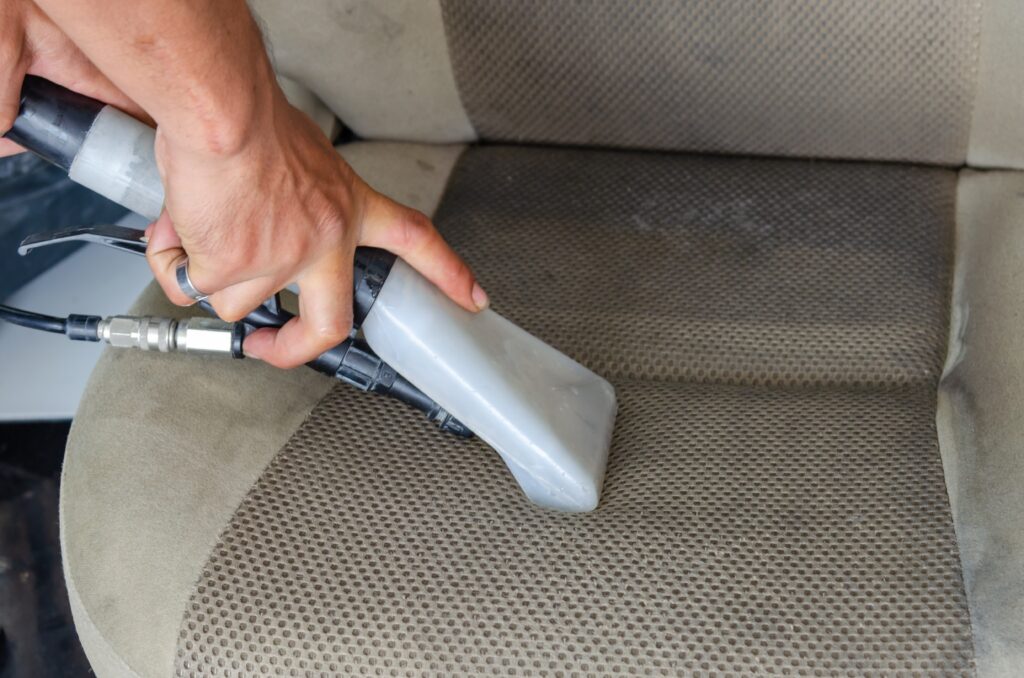
STEP 10: CLEAN UPHOLSTERY
If there are any stains, pre-treat them with a stain remover. Apply a fabric shampoo to the upholstery with a soft brush or sponge, working it in and letting it sit for a few minutes.
After a few minutes, use a clean, damp cloth to rinse off the upholstery, being sure to remove all of the shampoo. Let the upholstery air dry or speed up the process with a fan. Once dry, apply a fabric conditioner to protect the fabric and keep it looking new.
By following these steps, you can help maintain the look and feel of your car’s upholstery, keeping it clean and fresh. Please note that some car upholstery materials like leather or suede may require specialized cleaning methods or upholstery cleaner. Be sure to check the manufacturer’s instructions before cleaning those types of materials.
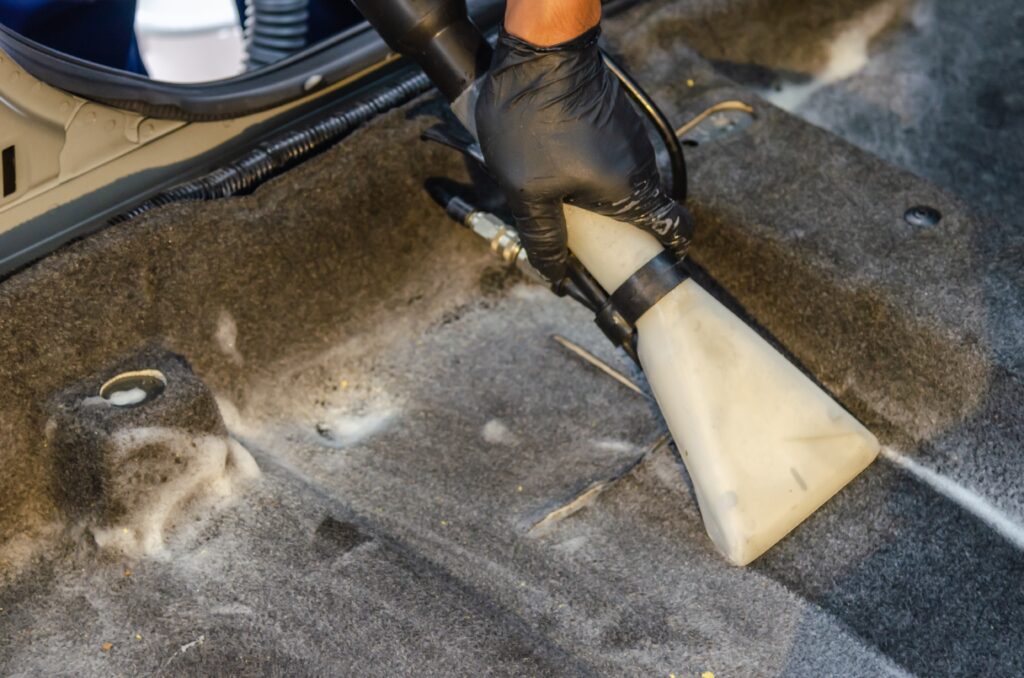
STEP 11: CLEAN CARPETS AND FLOOR MATS
If you notice any stubborn stains on the carpets or floor mats, pre-soak them with a stain remover. Apply a carpet cleaner or shampoo to the carpets and floor mats and use a scrub brush to work it into the fibers.
Let the upholstery cleaner sit for a few minutes, before scrubbing. Rinse the carpets and mats thoroughly with clean water and use a wet/dry vacuum or towels to remove excess moisture.
Hang the mats up to dry completely before putting them back in your car. This will help prevent mold and nasty smells from developing.
STEP 12: CLEAN THE HEADLINER
The headliner in your car can collect dust, dirt, and grime, leading to unsightly stains and discoloration. Start by using a soft-bristled brush to gently remove any loose debris on the headliner. Avoid using a stiff-bristled brush or a vacuum cleaner as they may damage the delicate fabric.
Next, use a clean, damp microfiber cloth to gently wipe down the headliner. When cleaning the headliner, it’s important to use a gentle touch and avoid scrubbing too vigorously as this can lead to fabric stretching or tearing.
If you encounter stubborn stains, a mild cleaning solution like a mixture of water and gentle soap or upholstery cleaner can be used. After cleaning, use a dry microfiber cloth to blot away any excess moisture, being careful not to rub or scrub the fabric which could cause pilling or fuzziness.
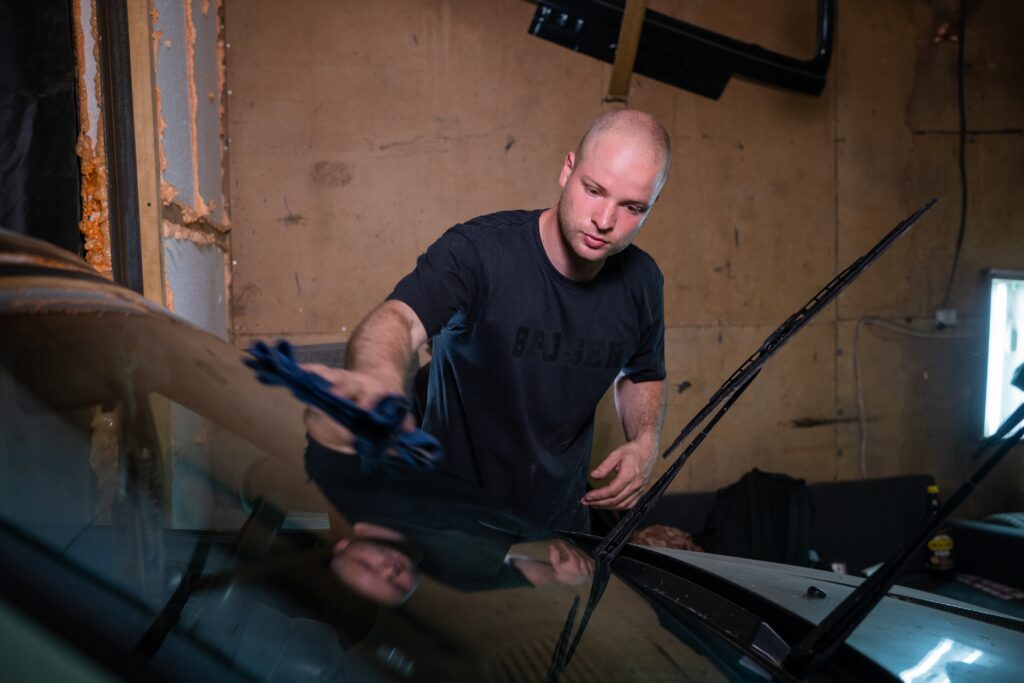
STEP 13: CLEAN THE WINDOWS
Last but not least, this is defiantly one of the most important steps in the car wash process. Having freshly cleaned glass that is free of dirt and water spots can have the most significant impact, even if no other cleaning is performed.
To clean your car windows, you’ll need some glass cleaner and a microfiber cloth for cleaning glass. This will help reduce the chance of scratches and streaking.
Roll down the windows halfway and spray the window cleaner either on the glass or towel. Use a circular motion to wipe away dirt or grime on both sides of the window with a clean towel for each side. Roll the windows back up to clean the rest of the glass.
Pro tip: After cleaning the windows, it’s best to avoid rolling them down for a few hours until the rubber seals have fully dried. Rolling the windows down too soon could cause the glass to streak.

Clean the windshield
Start by removing loose debris with a dry towel. Spray the cleaner directly on the glass and wipe it clean, including the edges where dirt can build up. Wipe away any excess cleaner with a clean, dry towel.
For cleaning the inside glass, apply glass cleaner to a microfiber towel and wipe the glass from up to down then side to side. If needed, go over the glass again with a dry towel to remove any streaking.
Pro tip: Clean the windows in a shaded area or when the glass is cool to the touch to avoid streaks. Don’t use ammonia-based cleaners on tinted windows, as this can damage the tint.
CONCLUSION
By following these steps, you can keep your car looking clean and well-maintained. For more information on each of these topics, be sure to check out the related post for each section to get a deeper dive.

Pingback: 5 Essential steps – How To Clean Wheels and Tires - autoveracity.com